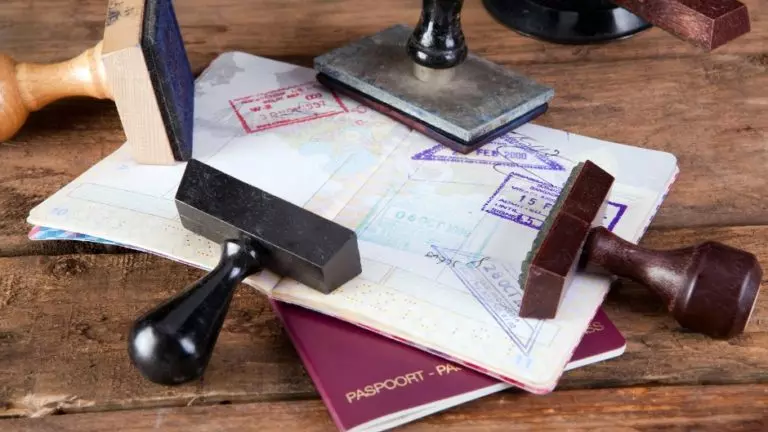
International students who hope to attend college and play their sport in the United States must apply for an F1, M1, or J1 student visa. The application process must be done in the student's country of origin, and once done, will allow them to enter the US legally.
Student visas in the US fall into the non-immigrant category, and students maintain that status throughout the duration of their academic program.
Related: 5 Culture Shock Tips for International Student-Athletes
The application process for the student visa is simple, but you need to get started early to have enough time to gather any necessary documents. The following step-by-step guide will help make the process a bit less stressful. You can also download and print this step-by-step guide in checklist form here.
Step-by-step guide to apply for a student visa
#1: Start your process at least 6-8 months before the academic program start date. During this time, you should check the university requirements and the types of programs offered (part-time, full-time, exchange, vocational). Your visa type will depend on the type of program you enroll in. The most common type of visa for college students is F-1.
#2: Once you have selected the program, you must go through the admissions process with the school. Once you have applied to a school, the acceptance letter will be a key element when applying for the visa.
Related: 6 Must-Do Steps for International Student-Athletes
#3: Once you have been accepted by the university, they will send you the Form I-20: Certificate of Eligibility for Nonimmigrant Student Status. This document will be processed and sent out from the university to you.
#4: Next, you need to fill out form DS-160: Online Nonimmigrant Visa Application. You will need your completed I-20 form to fill out this application, and you will be charged $160. In addition, pay your SEVIS fee at the Student and Exchange Visitor Program (SEVP) SEVIS I-901 Fee processing website.
#5: Request an appointment at your country's US Embassy. During the appointment, an officer will review your application and all of the required documentation. See below a document checklist for visa applicants:
- Valid passport (cannot be expired or within 6 months of expiration)
- Form Ds-160 confirmation page
- Receipt from payment of application fee
- Passport photo (do not wear glasses or cover your face/ears with your hair)
- SEVIS Fee payment confirmation
#6: Gather your supporting documents for the visa application. The officer at the embassy might request additional documents to prove your eligibility for a student visa. Some of the most common additional documents requested are:
- Letter of acceptance
- Proof of financial stability to pay for all educational, living, and travel expenses
- Academic transcripts, diplomas, degrees, or certificates
- Official Test scores (TOEFL, SAT, or ACT)
- Intent to depart the United States upon completion of the program
Here's a printable checklist of all the documents you might need!
#7: Be ready to answer some of the most frequently asked questions at the visa interview:
- What are your plans?
- What school will you attend?
- How long is your program of study?
- What is your goal with this program?
- When are you going to be back to your home country?
- How will you pay for all of the costs?
- Have you ever been to the United States before?
Practice your interview with this question list!
If you are approved, you will receive your passport with your visa stamp within a couple of weeks. You will need to present your visa when you enter the United States. Have your Form I-20 with you whenever you are travelling to or from the United states. Also carry a copy of all the documentation you presented at the embassy with you. The immigration officer might request additional information.
Do not forget to contact the international student department of each school to find out more about their requirements, costs, and scholarship opportunities.
Message us if you have anymore questions about this process, and GOOD LUCK with your visa application!
* Originally published on November 17, 2021, by Carlos Carrera